
THE COMPLETE COLD-WATER
STORM SESSION SETUP GUIDE


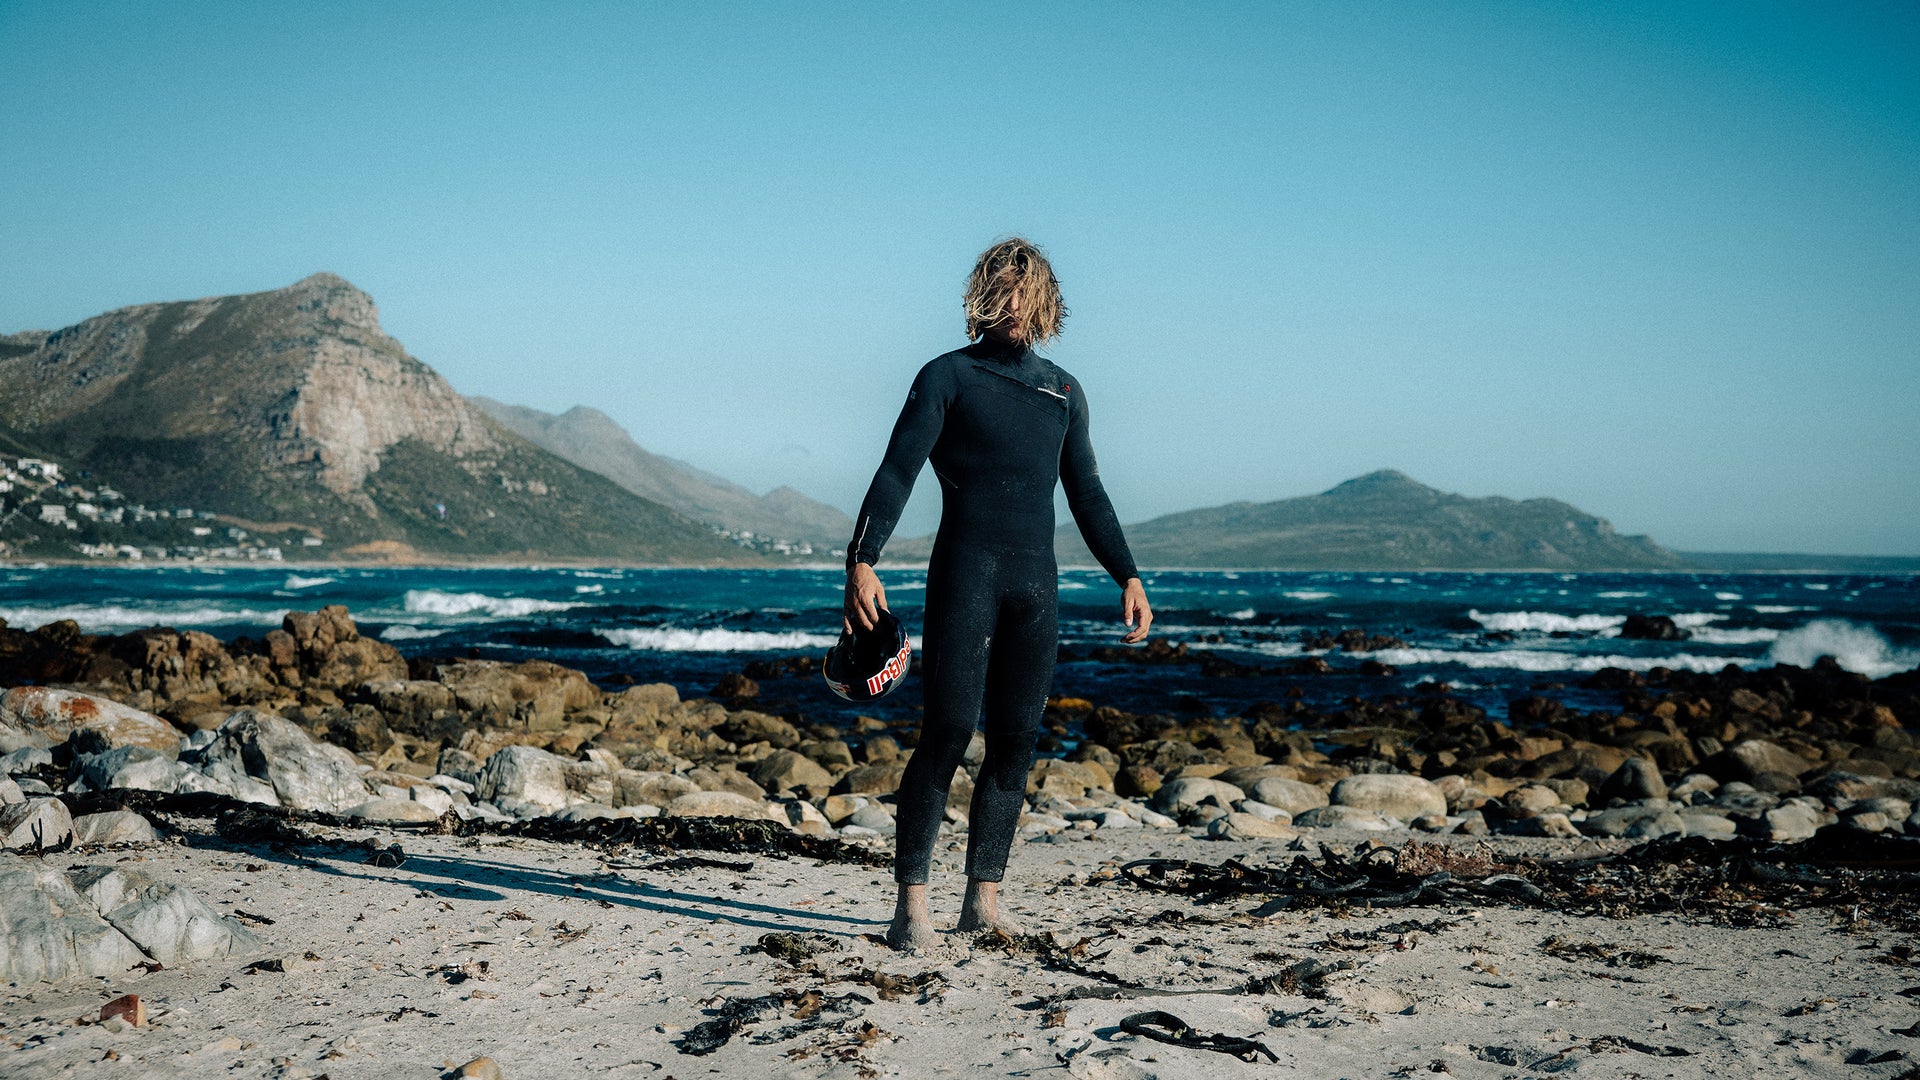
Cold-water Storm Set-up
When the forecast lines up and a winter low-pressure system rolls in, the riders who score the best sessions aren’t the ones with the most expensive gear. They’re the ones with a system. A cold-water session demands more than a thick wetsuit - it demands a complete setup of gear, preparation, and habits that work together so you can stay focused on riding instead of counting down the minutes until you can feel your fingers again.
This guide covers every element of the cold-water riding setup: wetsuit selection, extremity protection, impact vests, harness setup, pre-session routines, post-session recovery, and the safety awareness that keeps you coming back session after session.
Why Cold Water Demands a System, Not Just a Wetsuit
Most riders approach cold-water riding as a wetsuit problem. Pick the rightmillimetrecount, zip up, and go. But anyone who has stood on a frozen beach in January with numb fingers, trying to rig a kite while their hood fills with water, knows better. A wetsuit is just one piece of a much bigger puzzle.
The Setup Approach to Cold-Water Riding
Think of it this way: your wetsuit thickness should match your boot and glove thickness. Your impact vest needs to layer cleanly under your wetsuit without restricting movement. Your harness has to fit over the whole winter stack without riding up. And your changing routine should get you warm and dry in minutes - not twenty shivering, fumbling minutes.
When one element fails, the whole system falls apart. Cold hands lead to sloppy bar control, a hood that doesn’t seal means ice water flushing down your back every time you go under, and an impact vest that bunches under a thick wetsuit can restrict your breathing right when you’re working hardest.
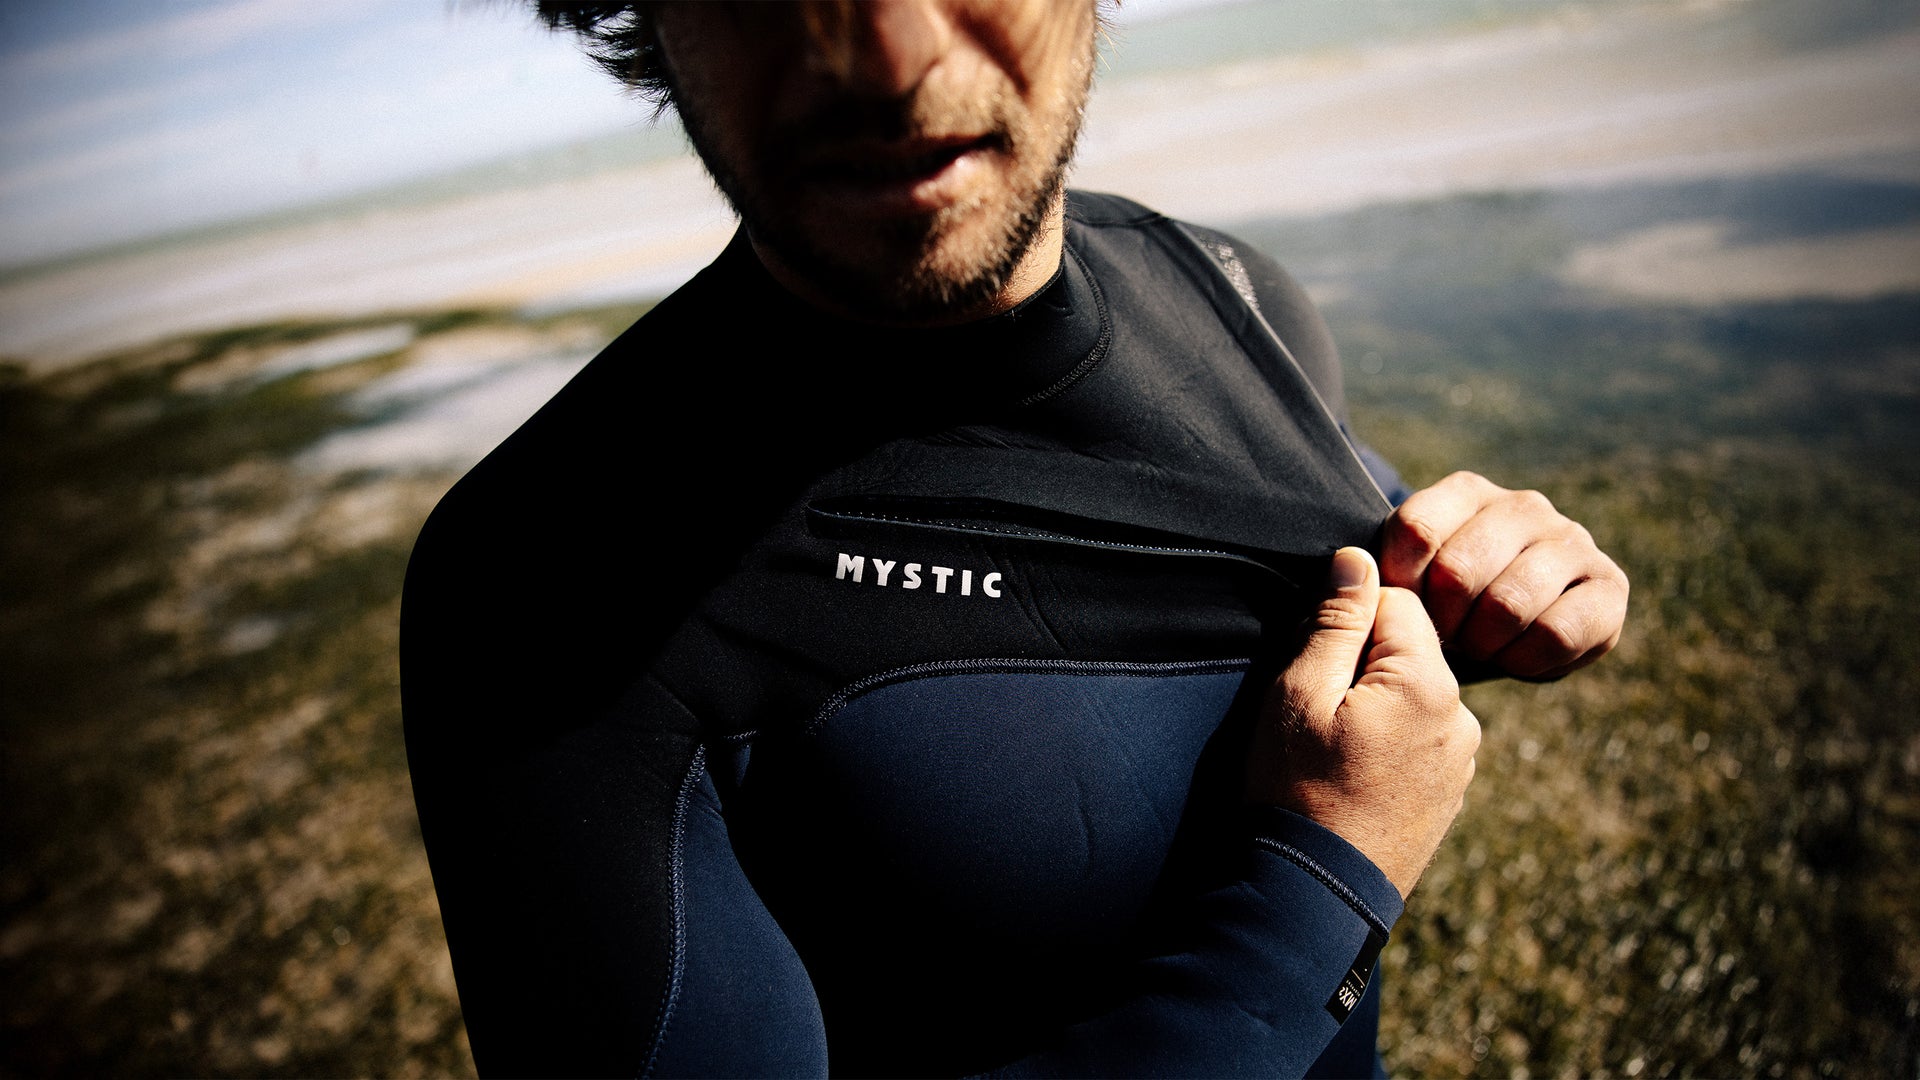
At Mystic, we design our gear specifically for this kind of integrated setup. Each product is engineered to work alongside the rest of the range — not as standalone pieces, but as parts of a complete cold-water system.
"In cold conditions, every part of your setup matters. If your boots are too thin, your gloves don't fit properly, or your harness isn't adjusted for your winter layers, you'll notice it straight away. Having a setup that works together means you can focus on enjoying the session instead of thinking about your gear."
- Nathalie Lambrecht

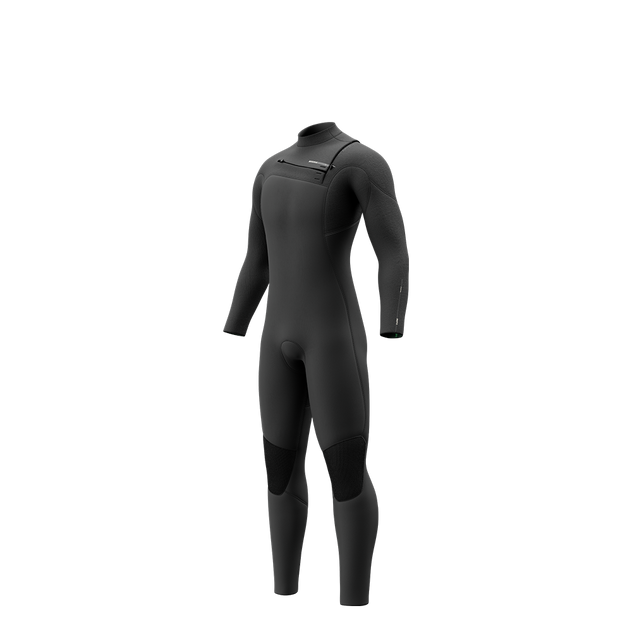
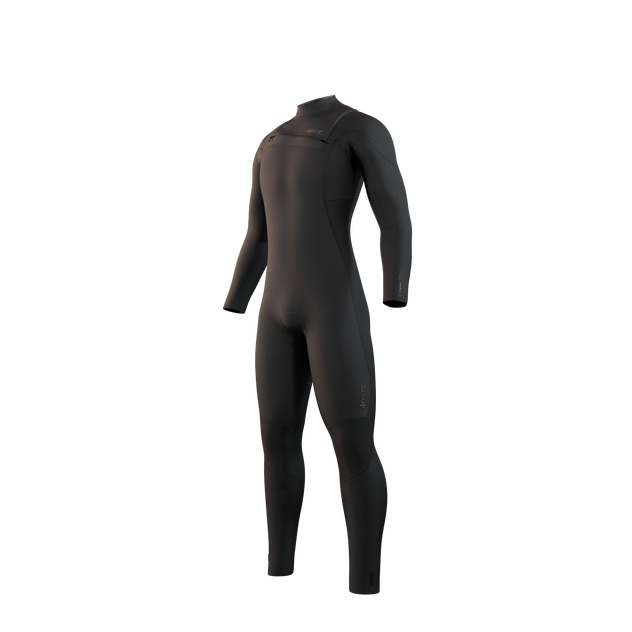
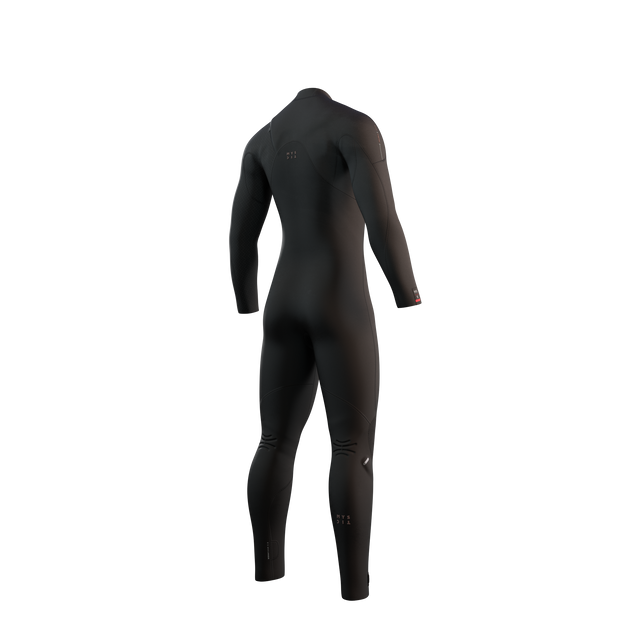
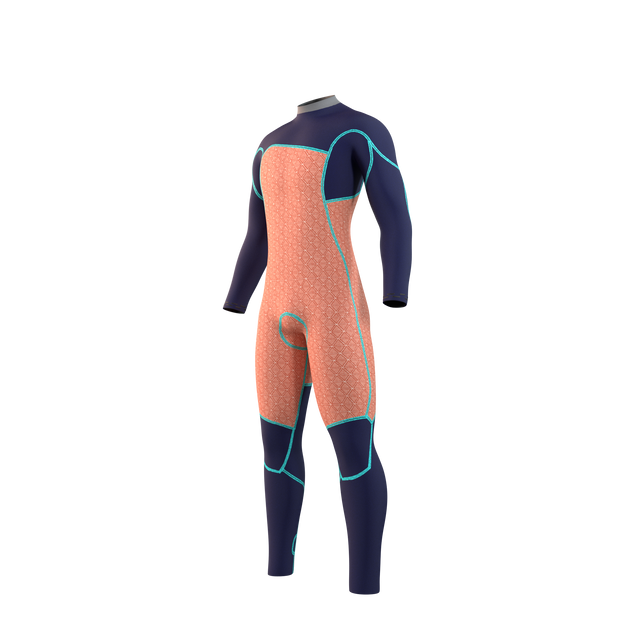
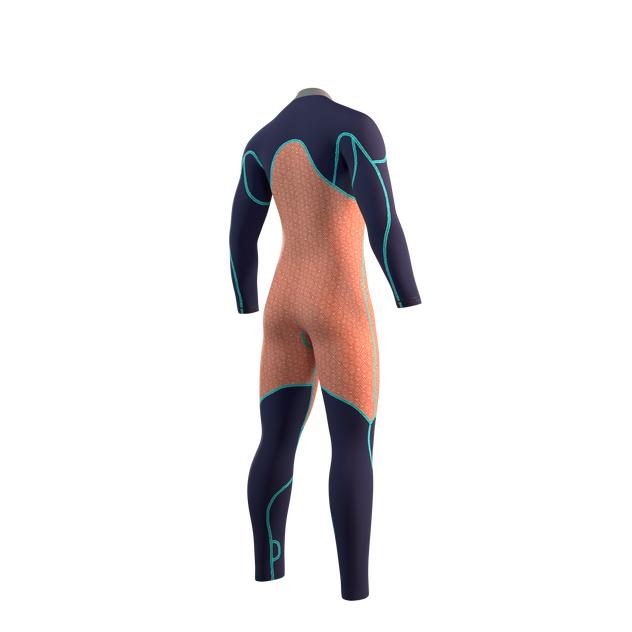
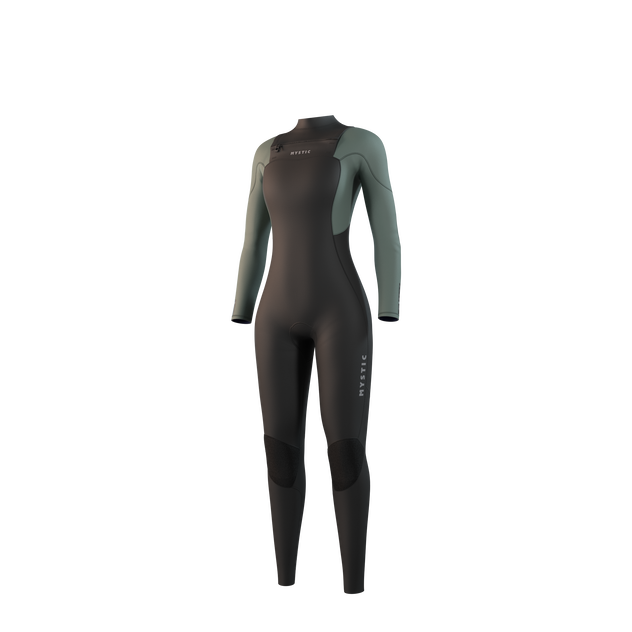
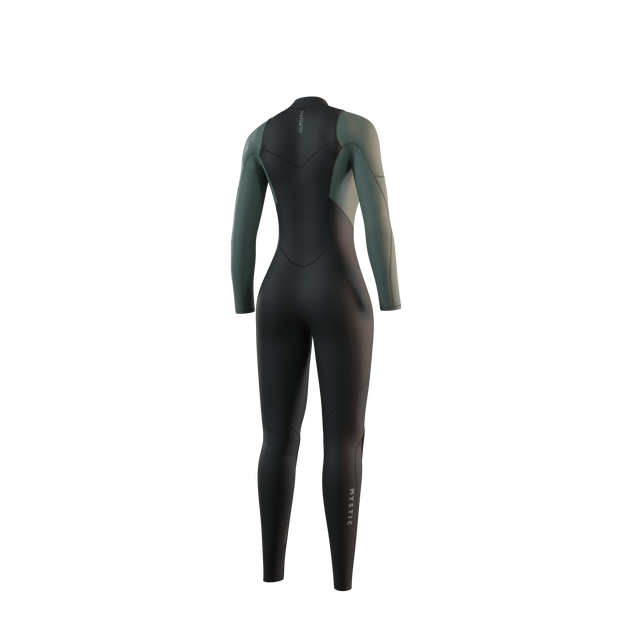
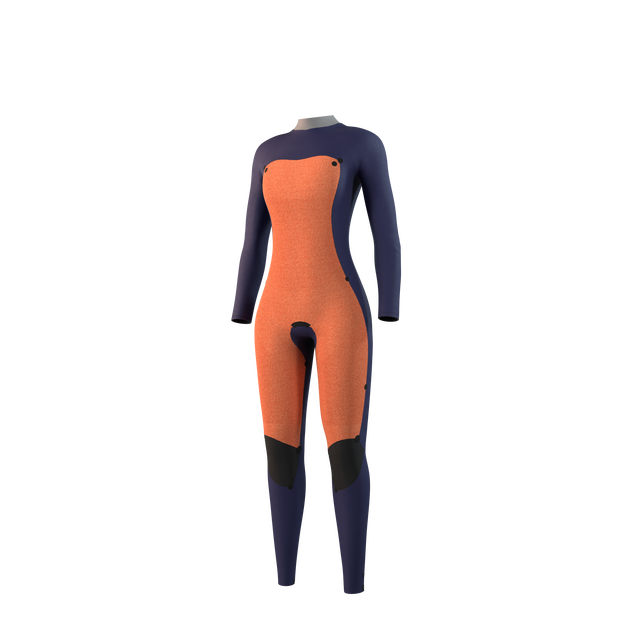
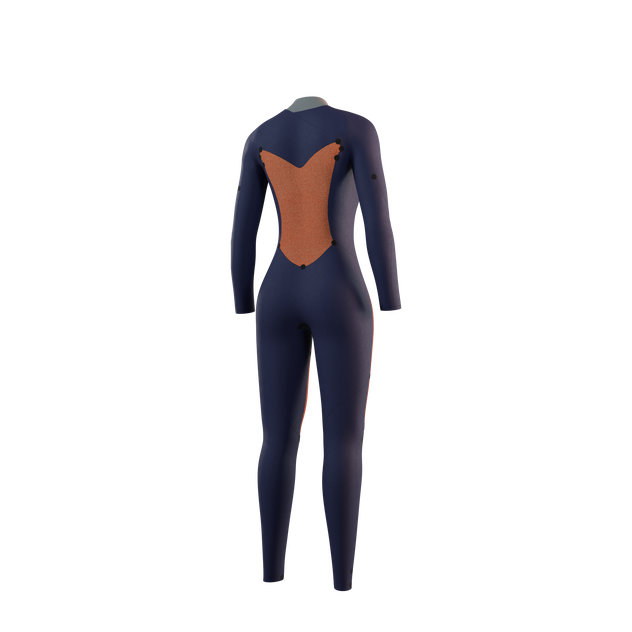
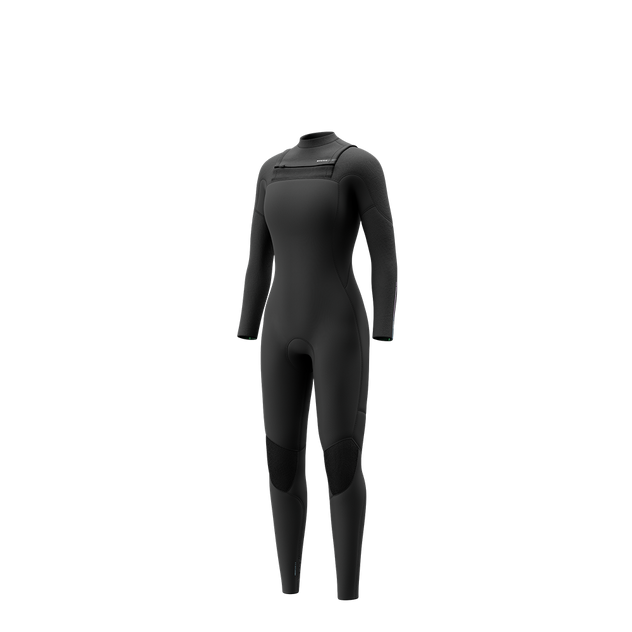
Wetsuits - Your Foundational Layer
Everything starts withthe wetsuit. Get this wrong and nothing else matters. Get it right and every other piece of gear builds on a warm, flexible base.
Wetsuit Thickness by Water Temperature
Wetsuit thicknessisn’tguesswork - water temperature dictates what you need. Wind chill makes the choice even more critical for kiteboarders, windsurfers, and wingfoilerswho spend serious time above the waterline getting blasted by wind between runs.
Water Temperature and Recommended Wetsuit Thickness:
| WATER TEMPERATURE | WETSUIT THICKNESS | TYPICAL CONDITIONS |
|---|---|---|
| 16–20°C (61–68°F) | 3/2MM | Late spring / early autumn |
| 12–16°C (54–61°F) | 4/3mm | Autumn / Mild winter |
| 8–12°C (46–54°F) | 5-3mm or 5/4mm | Winter |
| 4–8°C (39–46°F) | 6/4/3mm hooded wetsuit | Cold winter |
| Below 4°C (below 39°F) | 6/4/3mm hooded wetsuit + thermal layers | Deep winter / polar conditions |
These are starting points. Factor in wind chill, session length, and your personal cold tolerance. A kiteboarder standing waist-deep for twenty minutes waiting for a lull will get colder faster than a surfer paddling constantly. Wing foilers riding above the chop stay drier but get hit with more wind chill.
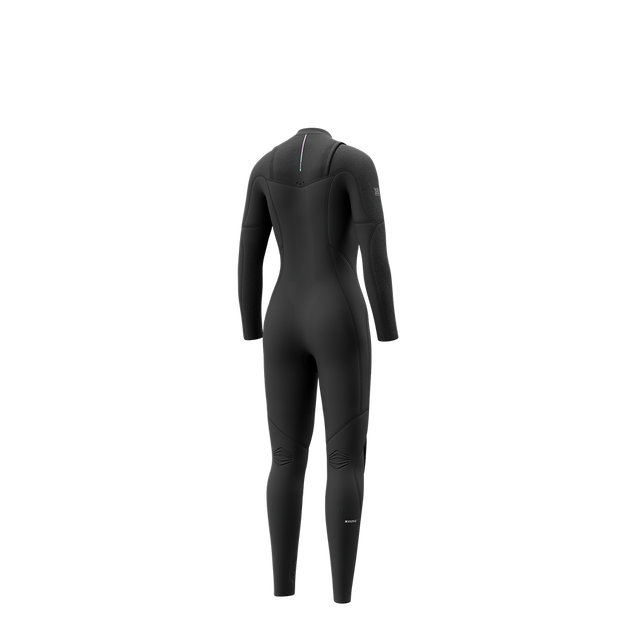
Seam Construction and Cold Water Performance
In cold water, seam construction matters as much as thickness. A 5mm wetsuit with poorly sealed seams will feel colder than a well-constructed 4/3mm.
Blind-stitched and glued seams (GBS) are the minimum for cold water. The needle doesn’t punch through the neoprene, so water can’t seep through the stitch holes. Taped seams add another layer of waterproofing on the inside. For the coldest conditions, look for fully sealed internal seam tape combined with external liquid seal - this creates a near-watertight barrier.
Our cold-water wetsuits use a combination of blind-stitched construction with internal taping across all critical seam zones. The result is a suit that stays dry internally even during prolonged immersion.
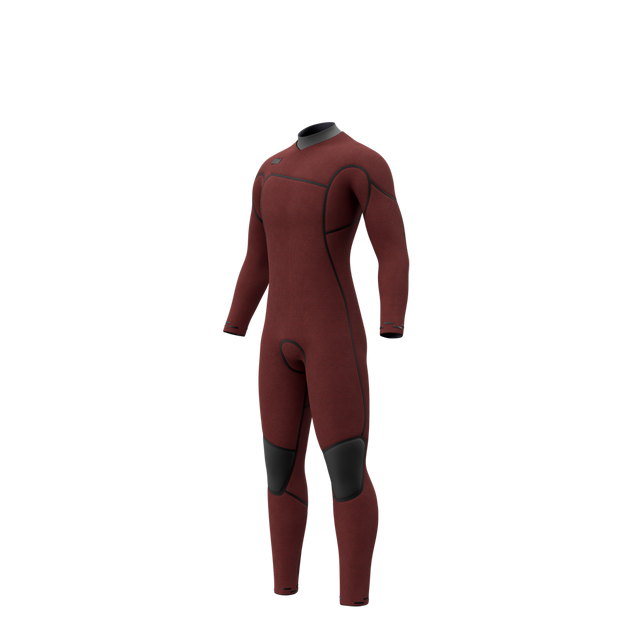
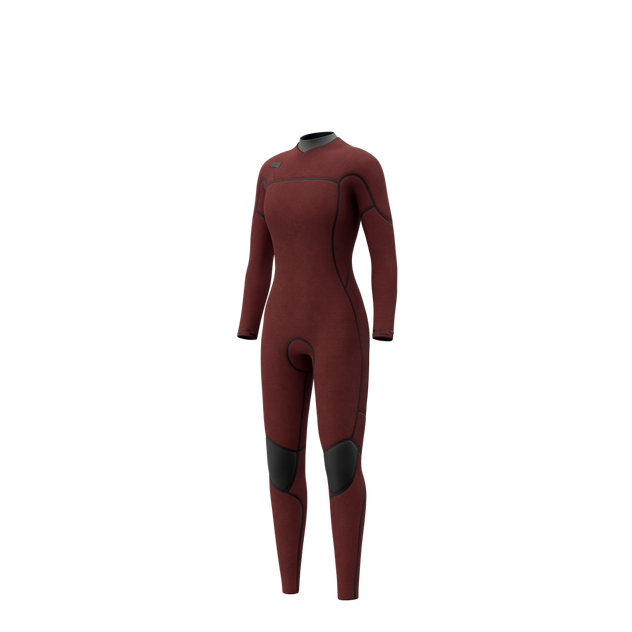
Sustainable Wetsuit Materials
Wetsuit construction has moved well beyond traditional petroleum-based neoprene. Limestone-based neoprene cuts reliance on petrochemicals while matching conventional neoprene on warmth and flexibility. Plant-based alternatives like Yulex push the envelope further.
We use limestone neoprene, recycled polyester linings, and solvent-free glues across our wetsuit range. Cold-water riding often takes you to some of the most pristine coastlines on the planet - the gear you wear should reflect that.
Extremities - Boots, Gloves, and Hoods
You lose heat fastest through your extremities. Your core stays warm inside a good wetsuit, but your fingers, toes, and head are the first to suffer. This is where most riders either get the setup right or abandon cold-water sessions entirely.
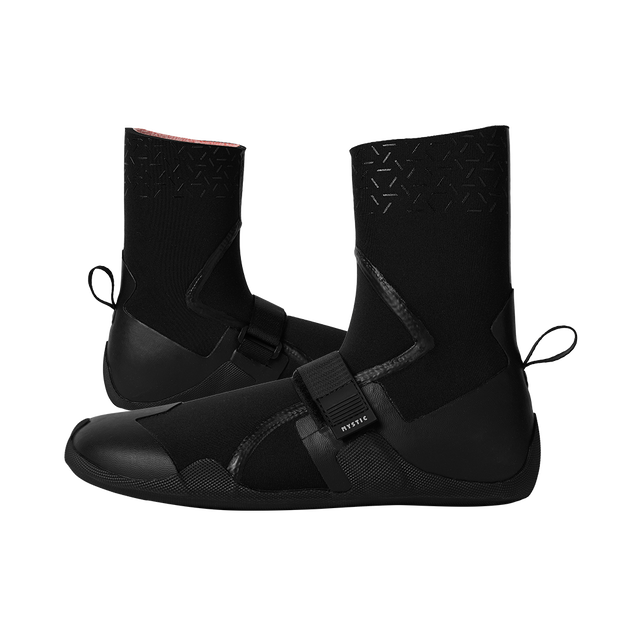
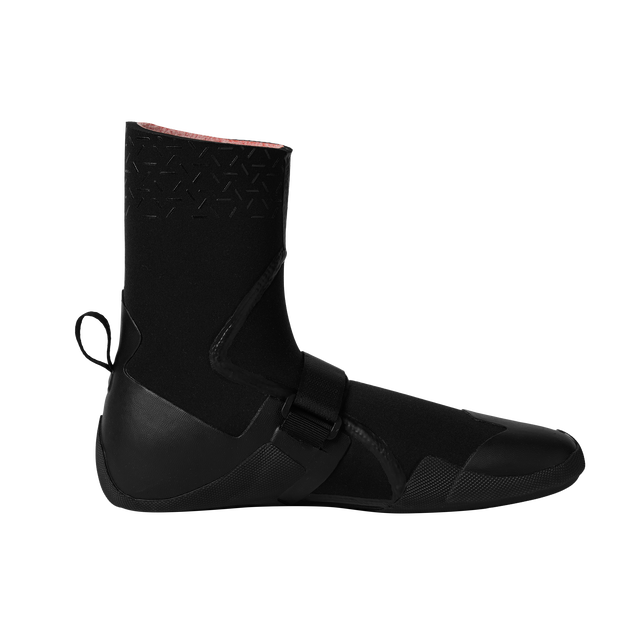
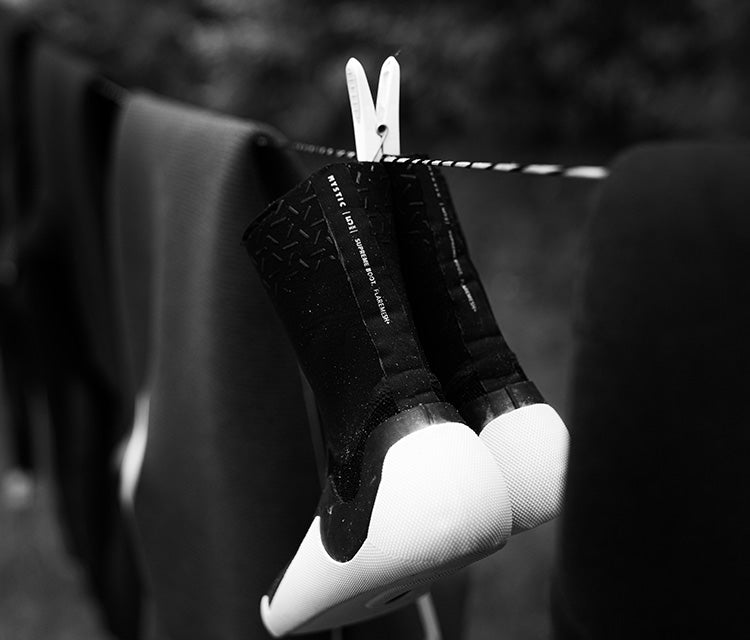
Choosing the Right Boot Thickness and Sole
Cold-water boots need to balance warmth with board feel. Too thick and you lose sensitivity underfoot. Too thin and your toes go numb in twenty minutes.
For water temperatures between 12–16°C, a 3mm round-toe boot works well. Below 12°C, move to a 5mm split-toe or round-toe boot. Below 8°C, a 7mm boot is your best option, though board feel takes a noticeable hit.
Round-toe vs split-toe is one of the most personal choices in cold-water kit. Round-toe boots feel more like normal footwear - your toes share warmth in one chamber, which makes them noticeably warmer than split-toes in cold conditions. They’re also easier to put on and take off with cold fingers. Split-toe boots separate the big toe from the rest, which gives you more direct board feel and a slightly more secure fit on smaller boards. The trade-off: split-toes run colder than round-toes at the same thickness because the big toe isn’t sharing heat with the others. The general rule: round-toes for warmth in the coldest conditions, split-toes when board feel matters more than the last degree of warmth.
Sole stiffness matters for different disciplines. Kiteboarders and wakeboarders need a sole thin enough to feel the board edge. Windsurfers benefit from a slightly stiffer sole for footstrap comfort. Wing foilers need grip and ankle support for beach starts. Check out our full range of boots and shoes to find the right fit for your setup.
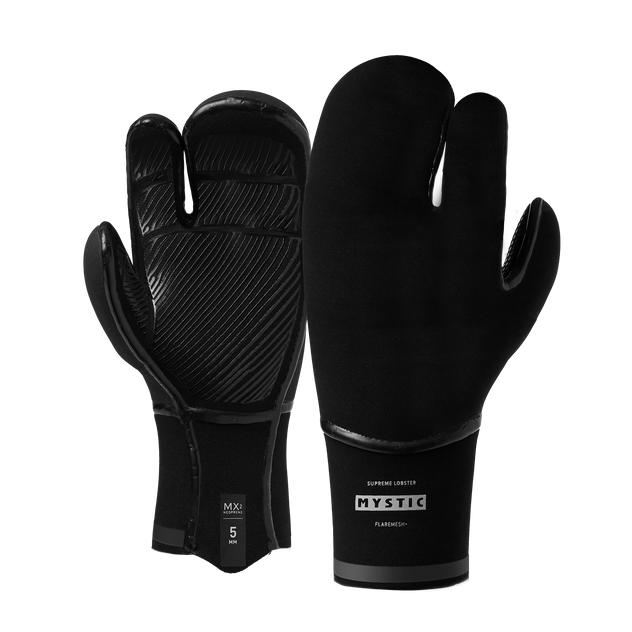
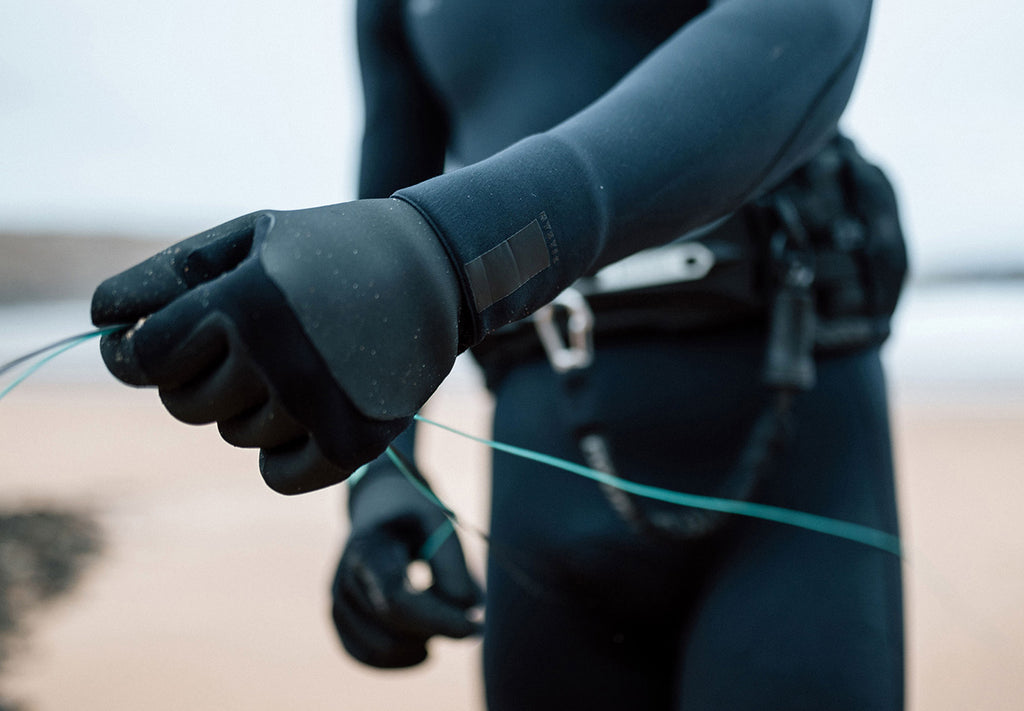
Gloves vs Lobster Claws vs Mittens
Hand protection is the most debated piece of the cold-water setup. Every rider has a preference, and for good reason - dexterity in your hands directly affects bar control, boom grip, and safety system operation.
Open-palm gloves are a favourite for kitesurfing and wing foiling in cool-but-not-cold conditions. They cover the back of the hand and the fingers, but leave the palm exposed so you keep direct contact and feel on the bar or wing handle. The trade-off - a little less warmth than a fully enclosed glove - is worth it in shoulder-season temperatures (around 10–15°C water) where bare hands feel cold but a full glove kills the grip feel.
Three-finger gloves offer the best balance of warmth and dexterity once temperatures drop further. Your index finger stays free while the remaining fingers share warmth. This is the go-to choice for most kiteboarders and wing foilers in the colder shoulder of winter.
Lobster claw gloves split your hand into two chambers - index and middle together, ring and pinky together. Warmer than standard gloves, with enough dexterity for bar and boom work. Ideal for temperatures below 8°C.
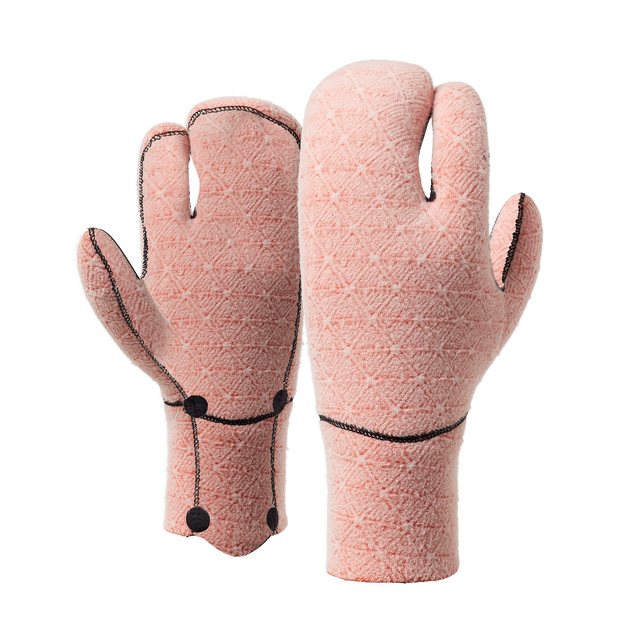
Full mittens are the warmest option but sacrifice individual finger control. Best reserved for the coldest conditions where grip strength matters more than fine motor skills.
Whichever style you choose, make sure you can still operate your kite’s safety release system, pull your donkey dick, and handle lines with the gloves on. Test this on the beach before you launch. Discover our neoprene gloves here.
Hoods and Thermal Caps
Heat loss through your head accounts for a significant percentage of total body heat loss. In cold water, a hood isn’t optional - it’s essential.
Integrated hoods (built into the wetsuit) create the best seal against flushing. Separate hoods offer flexibility - you can add or remove them based on conditions. Thermal caps sit under your hood for an extra layer in extreme cold.
The key with any hood is the seal around your face and neck. A hood that lets water in with every duck dive is worse than useless - it actively cools you down. Look for hoods with adjustable drawcords or face seals that keep water out while still allowing you to hear and breathe comfortably. Browse our hoods and beanies collection here.
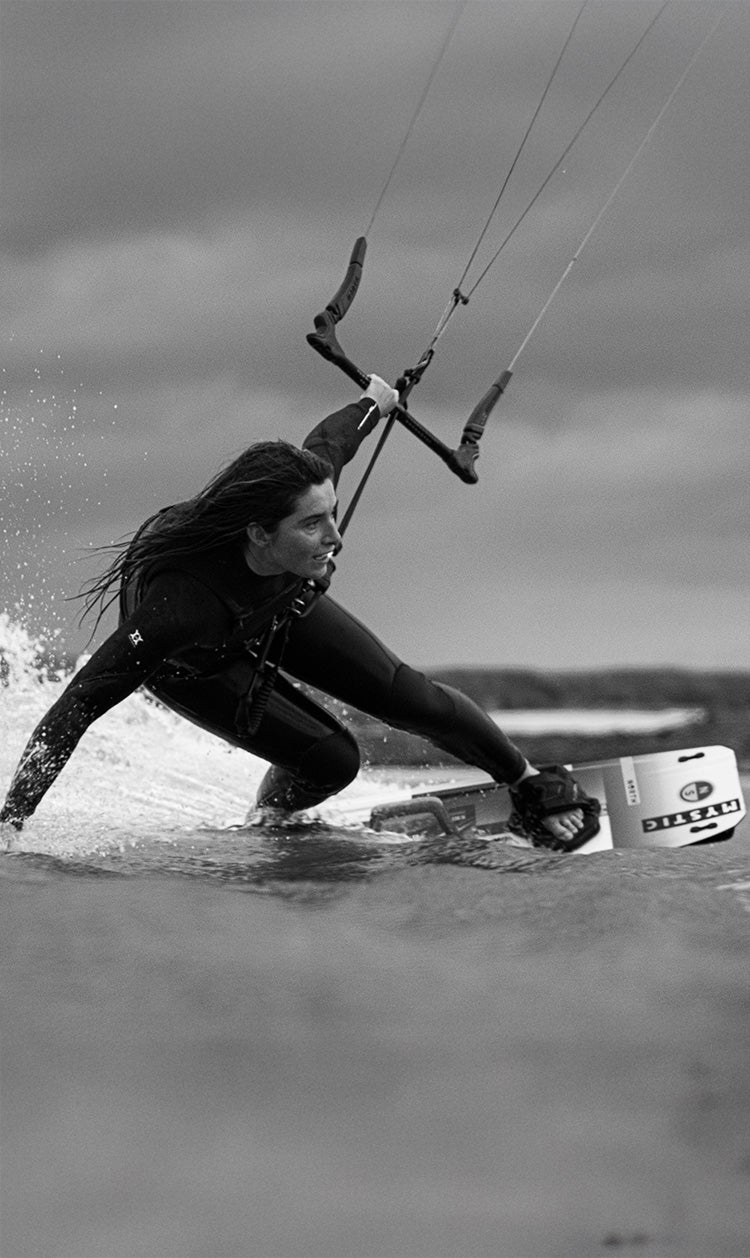
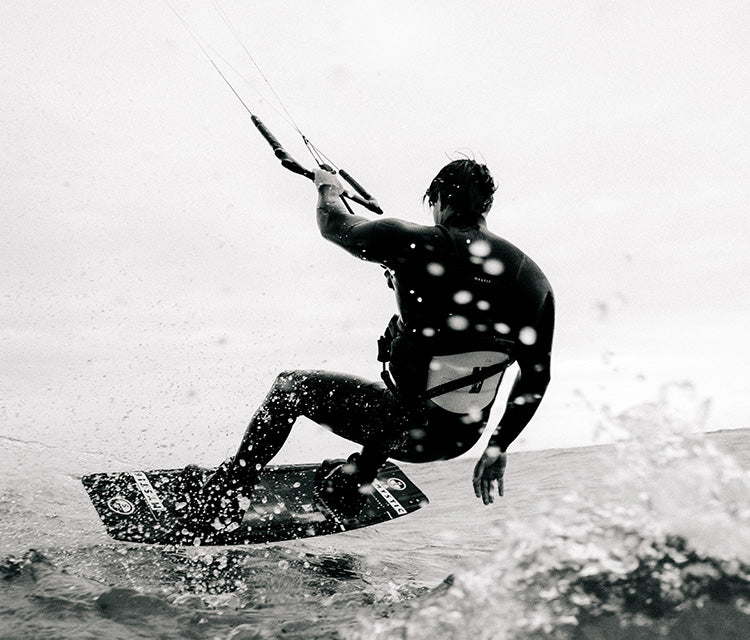
Impact Protection in Cold Water
Impact vests are standard kit for many riders year-round. In cold water, they take on extra importance - and understanding how they fit into your winter stack is part of getting the setup right.
Why Impact Vests Matter More in Winter
Cold water makes your body stiffer and less responsive. Your reaction times slow down, and your muscles take longer to brace for impact. When you crash in 8°C water wearing a 5mm wetsuit, you’ll hit harder and recover slower than you would on a summer session.
An impact vest absorbs shock across your chest and back - the areas most exposed during crashes in board sports. For kiteboarders riding overpowered in winter storms, that protection counts.
There’s a thermal bonus too. An impact vest won’t replace wetsuit thickness, but it adds a thin insulating layer that contributes to the overall warmth of your cold-water setup.
Layering an Impact Vest with Your Wetsuit
The most important thing to know about impact vests in cold water: they go OVER the wetsuit, not under it. A properly fitted winter wetsuit sits tight against your body to maintain its warm water layer - there’s simply no room to fit an impact vest underneath, and trying to do it compromises both the wetsuit’s warmth and the vest’s protection.
The correct cold-water layering order is: rash vest (optional, for chafe protection), wetsuit, impact vest, harness. The vest sits cleanly over the wetsuit and is shaped to work with your harness on top.
Our impact vests are designed with low-profile construction that layers cleanly over a wetsuit and underneath a harness. Try the combination on dry land first - put on your wetsuit, then your impact vest, then your harness, and simulate your riding movements. If anything restricts your breathing or range of motion, adjust your impact vest sizing or harness strap settings.
"When the water's cold, your body feels every crash a bit more. I wear my impact vest over my wetsuit and under my harness, and it's one of those things I'm always glad to have when a session doesn't go to plan."
- Jett Bradshaw
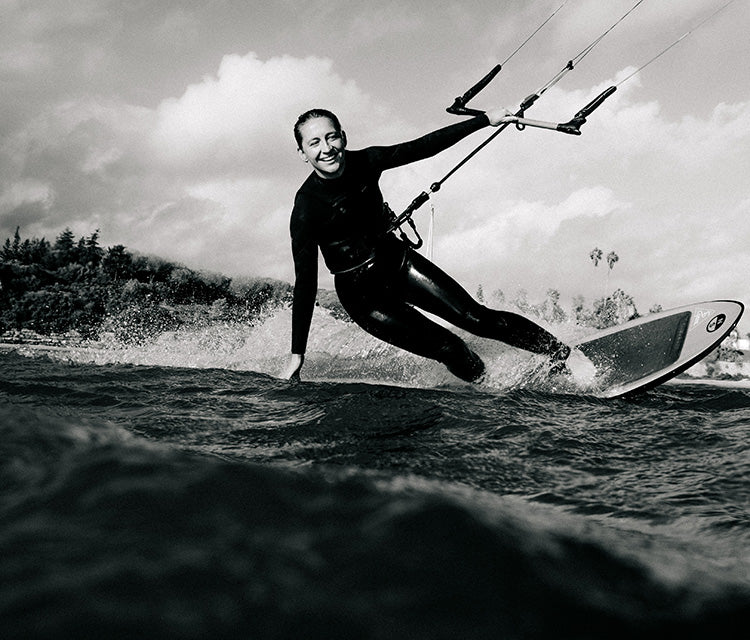
Harness Integration and Cold-Water Setup
Your harness connects you to your power source. With extra neoprene bulk and less flexibility in winter, getting the harness setup dialled becomes even more important than it is in summer.
Waist vs Seat Harness in Winter Conditions
Waist harnesses are the most common choice for kiteboarding and wing foiling. In winter, the extra bulk of a thick wetsuit can cause a waist harness to ride up more than usual. Choose a harness with a wide back panel and good lumbar support to counteract this.
Seat harnesses eliminate the ride-up problem entirely, which makes them worth considering for winter sessions - especially for longer sessions where harness comfort over multiple hours matters more than maximum freedom of movement.
Whichever style you choose, size your harness to fit over your winter wetsuit. You don’t need a different harness for winter - just loosen the straps to accommodate the extra neoprene thickness. One harness, two strap settings, and you’re sorted year-round. Try the full stack - wetsuit, impact vest, harness - before you get to the water.
Spreader Bar and Hook Considerations
Thicker wetsuits change the position of your spreader bar relative to your body. A bar that sits perfectly in summer may dig in or shift position with an extra 2mm of neoprene between it and your hips.
Check that your hook height still allows comfortable bar riding position. Some riders switch to a slightly larger spreader bar in winter to accommodate the extra material. Small adjustments here prevent hours of discomfort on the water.
Pre-Session - Preparation and Warm-up Routine
A cold-water session starts in the car park, not at the waterline. How you prepare directly affects how long you last and how much you enjoy it.
Gear Check Before You Launch
Cold-water sessions demand more preparation than warm-weather riding. Run through a systematic gear check:
- Wetsuit seams and zippers - check for damage or wear that could let water in
- Boot and glove fit - make sure nothing has stretched or degraded since last session
- Impact vest positioning - confirm it sits flat without bunching
- Harness fit over winter stack - adjust straps for the extra bulk
- Safety systems - test your quick release with gloves on
- Kite or sail condition - cold, wet conditions are harder on equipment
Physical Warm-Up for Cold Conditions
Cold muscles tear more easily and respond slower. Five to ten minutes of warming up before you suit up makes a real difference. Light jogging, dynamic stretching, arm circles, squats — anything that gets blood flowing to your fingers and toes.
Once you’re suited up, keep moving. Standing around on the beach chatting while you wait for a gust is a fast track to a miserable first ten minutes. Walk, jog in place, swing your arms. Hit the water with warm muscles and an elevated heart rate.
Post-Session - Recovery and Gear Care
Coming out of the water isn’t the end of the session. How you handle the transition from wet and freezing to warm and dry determines whether you enjoy the drive home or spend it with the heater on full blast, teeth chattering.
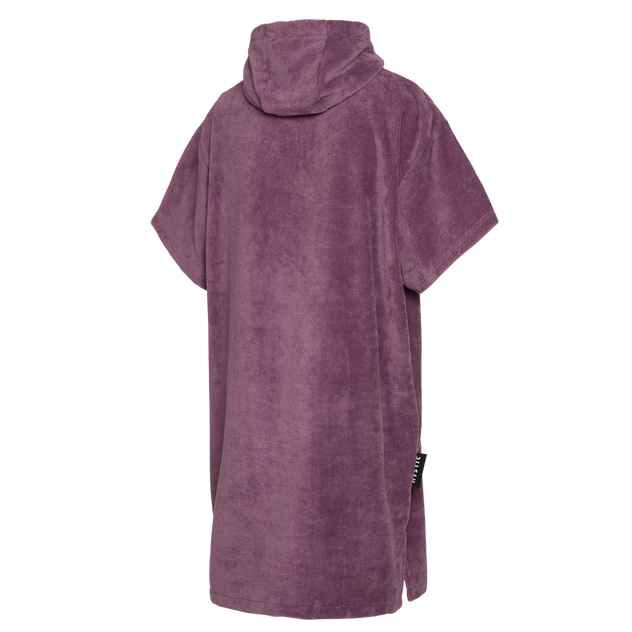
Changing Systems - Robes, Mats, and Dry Bags
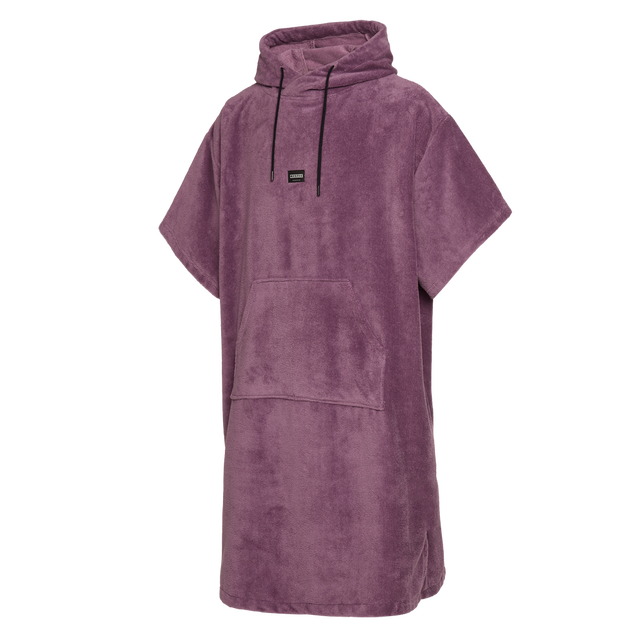
A changing poncho might be the single most underrated piece of cold-water gear. It blocks wind, traps warmth, and gives you privacy to strip off a wetsuit in a car park. For cold-water riders, this isn’t a luxury - it’s infrastructure.
Pair your changing robe with a changing mat. Standing barefoot on a frozen car park while pulling off wet neoprene is a recipe for misery. A mat keeps your feet off the ground and gives you a clean surface to stand on.
Have a dry bag or waterproof bag ready for your wet gear. Throwing a soaking wetsuit into your boot uncontained means a wet, smelly car and gear that doesn’t dry properly. Bag it, seal it, deal with it at home.
Hot water flasks are worth their weight in gold. Fill a thermos before you leave home and pour warm water over your hands and feet while changing. It sounds like a small thing, but once you try it you’ll never leave home without one again.
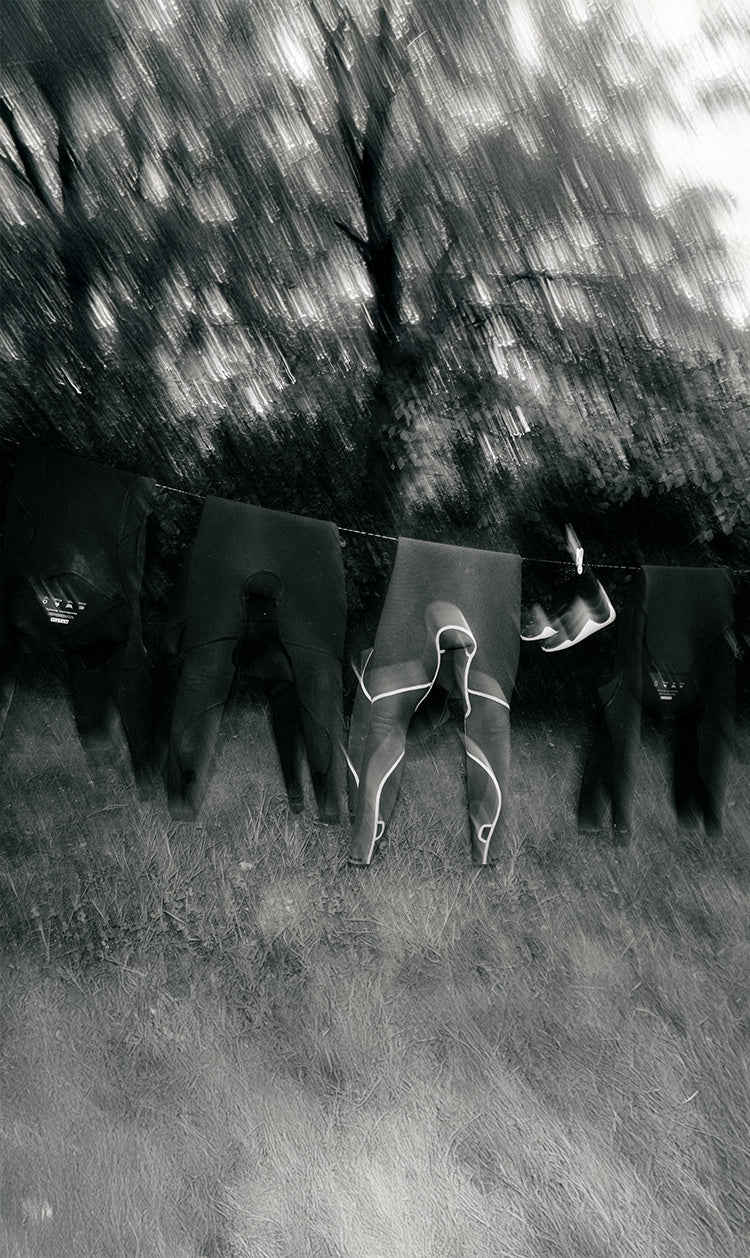
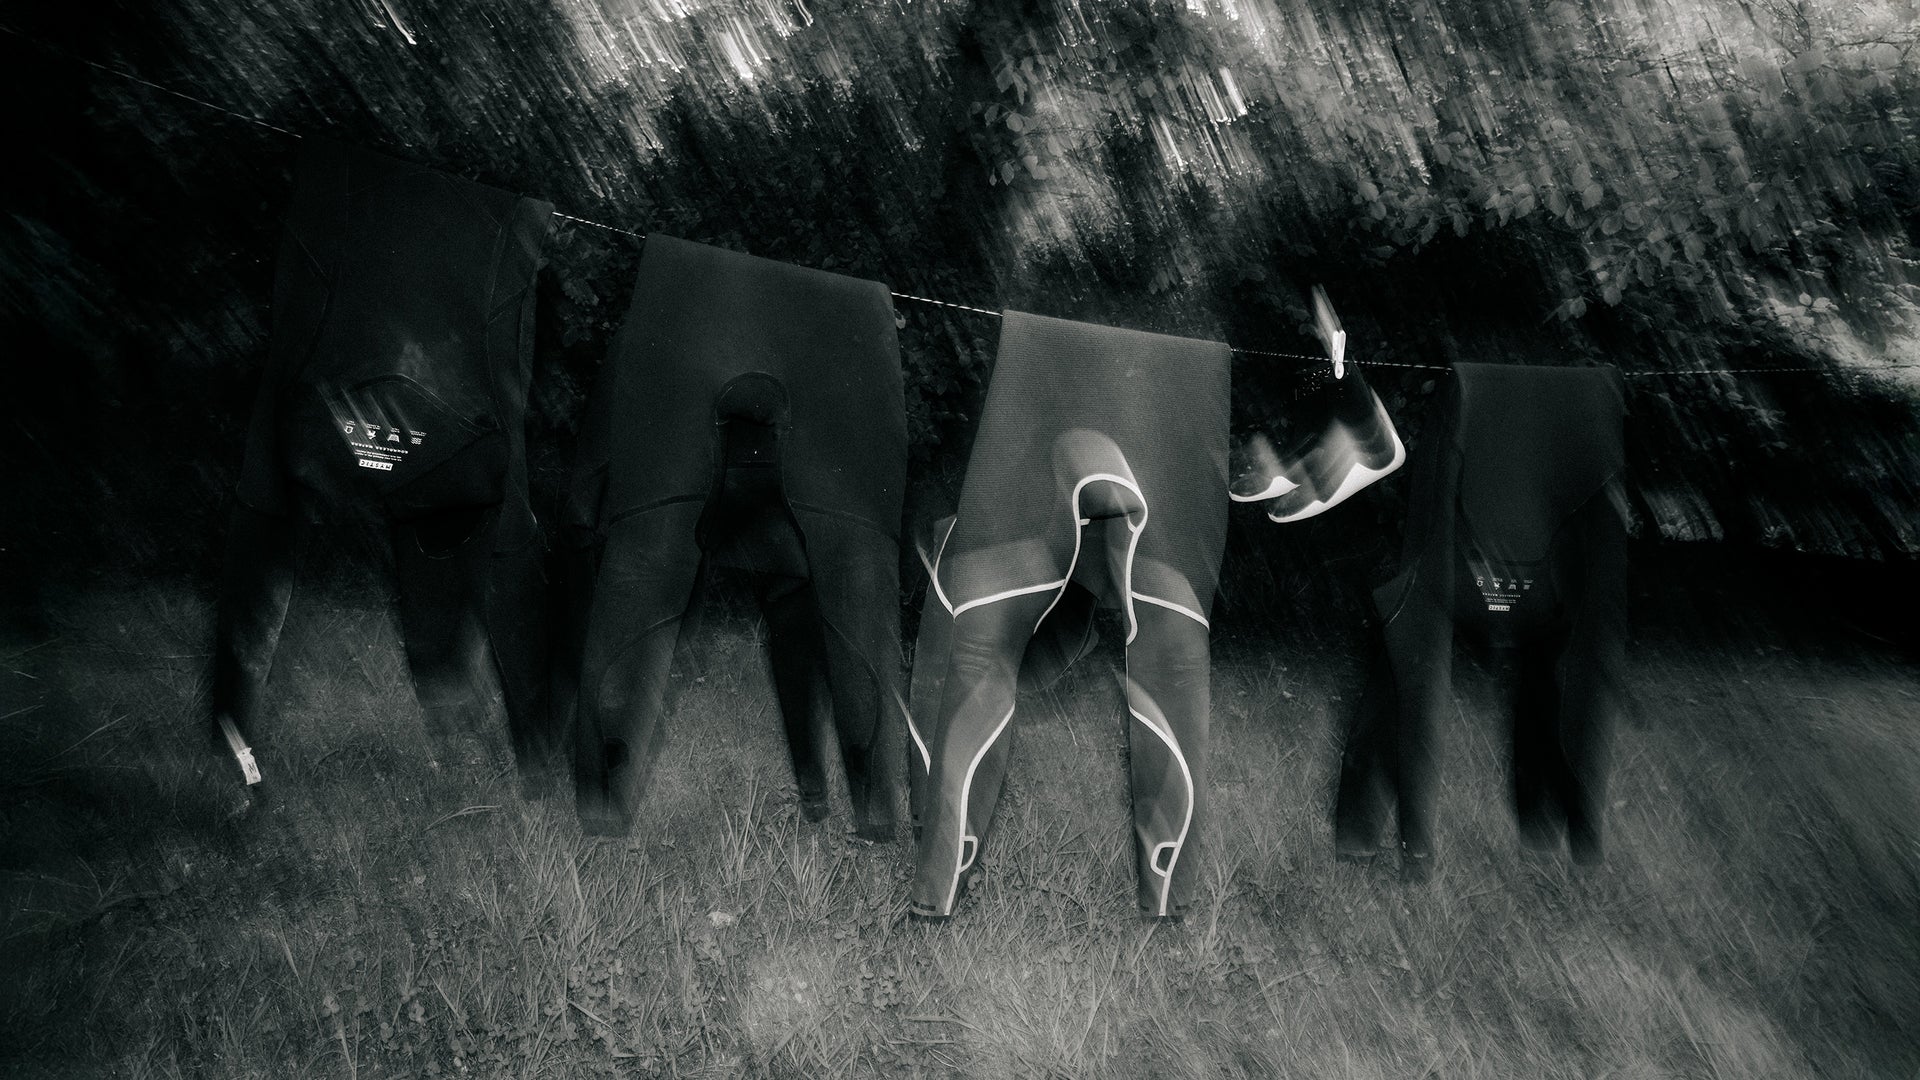
Wetsuit Rinsing, Drying, and Storage
Cold-water wetsuits work harder than summer suits. Salt, sand, and the repeated stress of thick neoprene flexing all take their toll. Proper care extends the life of your wetsuit by seasons.
Rinse your wetsuit in fresh water after every session. Don’t leave it in a bag overnight. Hang it inside-out on a wide hanger - never over a thin rail or hook that stretches the neoprene. Dry it out of direct sunlight, which degrades the material over time.
For boots and gloves, turn them inside out after rinsing and let them dry thoroughly between sessions. Gloves especially develop odour quickly if stored damp. A boot dryer or newspaper stuffed inside speeds up the process.
Store your wetsuit hanging, not folded. Folding creates permanent creases in thick neoprene that eventually crack and compromise waterproofing.

Safety and Cold-Water Awareness
Cold water doesn’t give second chances. Understanding the risks and planning for them is part of the setup - not something you think about after a close call.
Recognising Hypothermia Signs
Hypothermia develops gradually, and by the time you notice the serious symptoms, you may already be in trouble. It’s important to learn the early warning signs:
- Uncontrollable shivering
- Numbness in hands and feet beyond normal cold
- Difficulty concentrating or making decisions
- Slurred speech
- Loss of fine motor control (can’t operate your safety system)
If you notice any of these signs in yourself or a riding partner, end the session immediately. Get out of the water, get out of the wind, get into dry warm clothing, and warm up gradually. Do not try to push through - hypothermia impairs your judgement, which means the worse it gets, the less capable you are of recognising how bad it is.
Session Planning and Buddy Systems
Never ride alone in cold water. Period. If something goes wrong - gear failure, injury, cramp, hypothermia - having someone on the beach or on the water who knows you’re out there can save your life.
Plan your sessions around the conditions, not just the wind forecast. Check water temperature, air temperature, wind chill, and sunset time. Set a time limit before you launch and stick to it. A great two-hour winter session beats a miserable three-hour session where you spent the last hour too cold to ride properly.
Know your exit points. In storm conditions with strong currents, your downwind options narrow. Plan where you’ll come ashore if you can’t make it back to your launch point.
Building Your Cold-Water Setup
You don’t need to buy the whole setup at once. Most riders build it over seasons, adding pieces as they figure out what works and what’s missing. Start with the foundation - a properly fitting wetsuit - and build outward from there.
The gear matters, but the habits matter just as much. A consistent pre-session check, a proper warm-up, a reliable changing system, and decent gear care are all free upgrades to your cold-water experience. They separate riders who dread winter from riders who count down the days to the first autumn storms.
We build gear for riders who don’t pack it in when the temperature drops. Our complete cold-water range - wetsuits, boots, gloves, hoods, impact vests, harnesses, and ponchos - is designed to work as one system. Because the best sessions of the year happen in winter. You just need the right setup to enjoy them.
FAQs
What wetsuit thickness do I need for cold-water kitesurfing? For water temperatures between 8–12°C, a 5/3mm or 5/4mm wetsuit is the standard choice for kitesurfing. Below 8°C, consider a 6/5mm suit or a drysuit. Always factor in wind chill - kiteboarders and wing foilers experience more cooling above the waterline than surfers.
Can I wear an impact vest under a winter wetsuit? No - a winter wetsuit fits tight to the body to maintain its warm water layer, so there’s no space underneath for an impact vest. The correct order for cold-water sessions is wetsuit first, then impact vest over the top, then harness. Try the full stack on dry land before the session and adjust sizing or strap settings if anything restricts breathing or movement.
How long can I safely ride in cold water? Session length depends on water temperature, your gear, fitness, and personal tolerance. As a general guideline, limit sessions to two hours in water below 10°C. End your session immediately if you notice signs of hypothermia like uncontrollable shivering, numbness, or difficulty concentrating.
Are lobster claw gloves better than regular gloves for kitesurfing? Lobster claw gloves offer more warmth than standard three-finger gloves because your fingers share body heat in pairs. They sacrifice some individual finger dexterity but maintain enough for bar control and safety system operation. They’re the preferred choice for water temperatures below 8°C.
How do I stop my wetsuit hood from flushing? Choose a hood with an adjustable face seal or drawcord that creates a close fit around your face. Integrated hoods built into the wetsuit create the best seal. For separate hoods, tuck the skirt well inside your wetsuit collar and ensure there are no gaps where water can enter.
How should I care for my winter wetsuit? Rinse in fresh water after every session. Hang inside-out on a wide hanger - never fold or drape over a thin rail. Dry out of direct sunlight. Check seams regularly for wear, especially in high-stress areas. Proper care can extend a cold-water wetsuit’s life by multiple seasons.
Gear up for the cold-water sessions